Share This Article
Treating yourself to a beautiful manicure doesn’t always mean heading to the salon. With a few simple tools and some patience, you can achieve a perfect DIY manicure right in the comfort of your own home. In this step-by-step guide, we will walk you through the process of achieving a professional-looking manicure, saving you time and money while still indulging in self-care.
Step 1: Gather Your Supplies
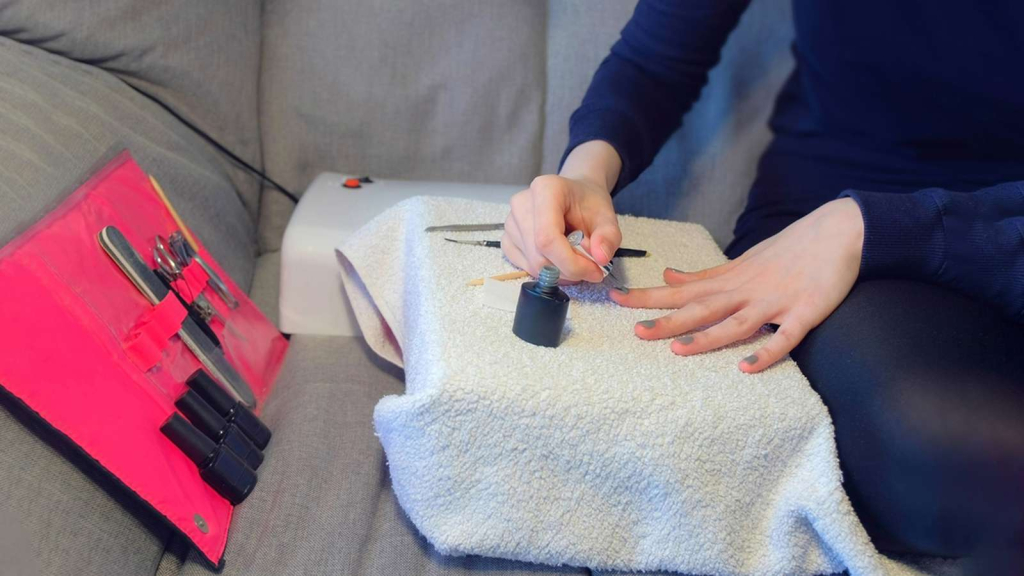
Before you begin, gather all the necessary supplies. You’ll need a nail polish remover, cotton pads or balls, a nail file, a buffer, cuticle pusher, cuticle trimmer (if desired), a base coat, your favorite nail polish color, and a top coat. Ensure your nails are clean and free from any previous polish.
Step 2: Shape and Smooth Your Nails
Start by shaping your nails to your desired length and shape. Use a nail file to gently shape them, whether you prefer square, round, or almond-shaped nails. Be sure to file in one direction to prevent splitting or damage. Once you’re satisfied with the shape, use a buffer to smooth out any rough edges and create a clean surface.
Step 3: Soak and Nourish
Fill a small bowl with warm water and add a few drops of your favorite essential oil or gentle soap. Soak your hands in the water for a few minutes to soften the cuticles. Afterward, pat your hands dry and apply cuticle oil or a nourishing hand cream to moisturize and soften the skin.
Step 4: Push and Trim Cuticles
Using a cuticle pusher, gently push back your cuticles. Be careful not to push too hard or damage the delicate skin. If there are any excess cuticles that need to be trimmed, use a cuticle trimmer to carefully remove them. Remember to be gentle and only trim what is necessary.
Step 5: Apply Base Coat
Apply a thin layer of base coat to each nail, starting from the base and working your way to the tip. The base coat helps the polish adhere better to the nails and protects them from staining. Allow the base coat to dry completely before moving on to the next step.
Step 6: Apply Nail Polish
Now it’s time for the fun part – applying your chosen nail polish color. Apply a thin, even layer of polish to each nail, starting in the center and then moving to the sides. Be patient and wait for the first layer to dry before applying a second coat if needed. For a more vibrant color, apply a third coat after the second layer dries.
Step 7: Finish with a Top Coat
Once your nails are dry and polished, apply a layer of top coat to seal in the color and add shine. The top coat also helps prevent chipping and extends the life of your manicure. Allow the top coat to dry completely.
Step 8: Clean Up and Final Touches
Take a small brush or cotton swab dipped in nail polish remover and carefully clean up any excess polish around your nails for a neat and polished look. Alternatively, you can use a nail polish corrector pen for precise cleanup. Finish by applying a small amount of cuticle oil or hand cream to moisturize and nourish your hands and cuticles.
Achieving a perfect DIY manicure at home is easier than you think. By following this step-by-step guide, you can pamper yourself and enjoy beautifully polished nails without leaving the house. With a little practice and patience, you’ll be able to master the art of the at-home manicure and indulge in self-care whenever you desire. So gather your supplies, set aside some time for yourself, and get ready to enjoy a flawless manicure right at home.


